Luxion hat eine schöne Übersicht über das Erstellen einer eigenen Benutzeroberfläche erstellt.
KeyShot makes it easy to create photorealistic visuals and the user interface is at the heart of making the process simple and intuitive but did you know you can set up and customize the user interface for your personal workflow? Today, we’ll take a look at how to customize the KeyShot user interface to best suit your needs.
Customizing KeyShot’s User Interface
KeyShot’s user interface (UI) is designed for ease-of-use with full customizability tailored to your specific needs. In KeyShot, you’ll find Workspaces at the front of the KeyShot Ribbon, just above the Real-time View. The dropdown provides various user interface layout presets and an option to save your own. Let’s customize our KeyShot UI.
Customizing the Ribbon and Toolbar
With the Start-up workspace selected, let’s start with customizing the Ribbon.

Right-click on the Ribbon to see a menu that allows you to toggle different tools on and off depending on what configuration suits your needs best. This menu also allows you to hide or display the text that appears below each icon.
Right-click the Toolbar (along the bottom of KeyShot) to choose between three icon sizes and toggle the text on and off. In the same way, Right-click the Library and Project window tabs you did with the Ribbon at the top.

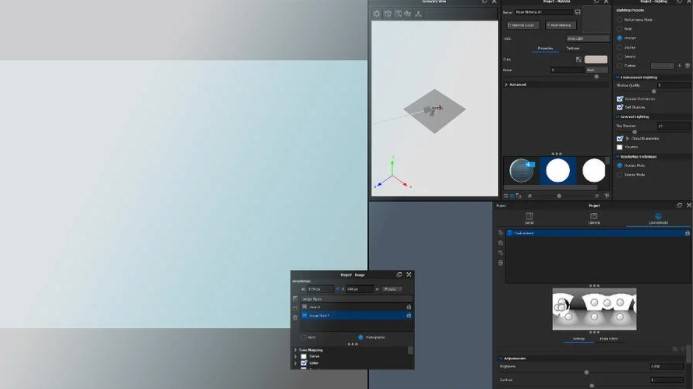
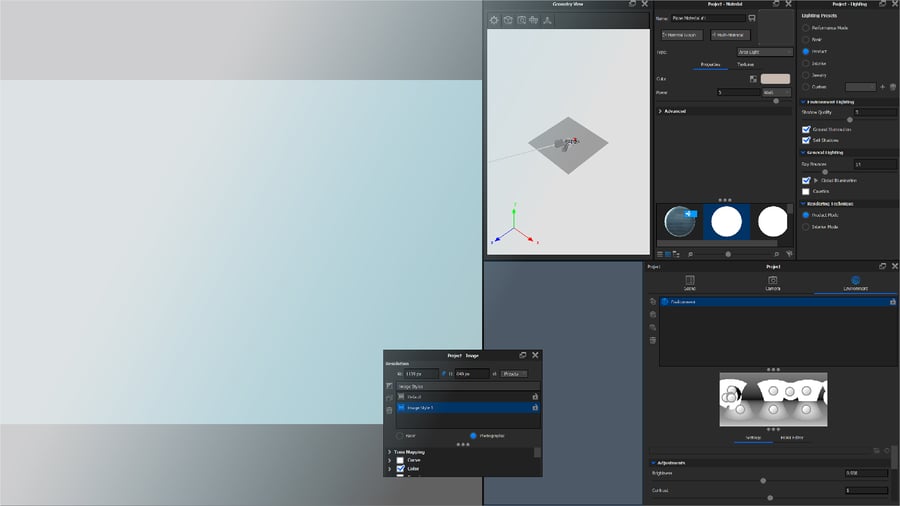
Docking and Undocking
KeyShot’s interface also allows for docking and undocking of panels and windows and allows you to move those panels and windows into any location you prefer. Panels can be stacked on top of each other as well as beside one another, and they can also be undocked and left to float freely anywhere on your screen or on another monitor. This makes optimizing workspaces and tools incredibly easy for any project no matter how big or small.
Switching Workspaces
Again, if you’d like to easily toggle between different UI layouts, navigate to the Workspaces dropdown and select between the eight preset options in the list. When you first install KeyShot, you will see the Startup workspace. For the standard KeyShot layout, select the Default workspace.
Workspaces also allow you to add custom workspaces, make changes, and manage existing workspaces. At the bottom of the list you see the option to switch between Light Theme and Dark Theme. The Light Theme is the default but is quickly change to your preference and is saved along with your workspace.
Switching between the workspace presets you can see several different layouts offered as presets. Any of these configurations are able to be adjusted to better suit your personal needs or built entirely from scratch.
Adding Workspaces
If you’ve created a workspace that you’re particularly partial to, go to the Workspaces dropdown, select Add…, and name your new workspace. Once added, access it any time from the Workspaces dropdown like any other preset.
If, on the other hand you wanted to delete a workspace, select Manage… from the dropdown, select the desired workspace and select Delete Workspaces (the trash icon). In this window you can also import existing workspaces, export current workspaces, and revert workspaces to their default settings.
A KeyShot layout can be highly specific to the creative workflow or design process, so be sure to take some time to explore the different options available for toolbars, workspaces, and window layout, to set up a layout to make your experience as efficient and hassle free as possible. If you’d like to learn more about the user interface, check out the KeyShot Manual.
What Can You Create?
We would love to see what you create with this tip. Visit the KeyShot Amazing Shots forum to see what others are creating and share your own work. And if you have a suggestion for another tip share it in the comments below.